You can copy an existing Stack to a new Workspace if you wish to reuse some or all of it’s content. Copying a Stack can be done via the Stack Settings in Properties.
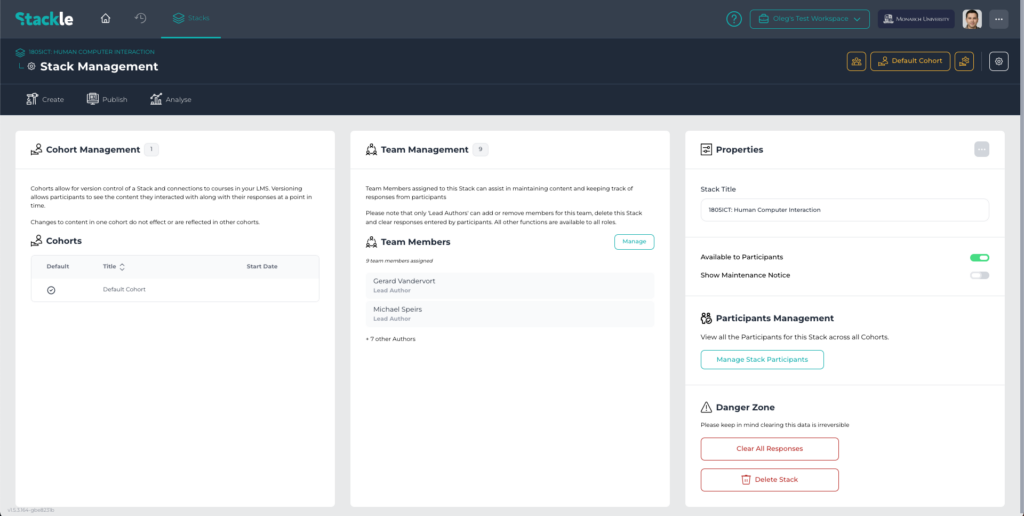
View of Stack Settings
Step-By-Step Guide #
1. Open the Stack Actions menu and click Copy. #
In Properties, open up the Stack Actions menu, and select the ‘Copy’ option from the list. This will open the ‘Copy Stack’ window.

2. Enter a new Title for the Copy. #
Enter a new Title for the Copy in the textbox. By default, the Title will be the existing Stack’s Title with ‘(copy)’ inserted at the end.

3. Select the content to copy: #
Select either the ‘Copy Everything’ or ‘Customise’ option depending on which content should be copied across.

4. a) ‘Copy Everything’. #
Select the ‘Copy Everything’ option to copy across all existing content within the Stack.
4. b) ‘Customise’. #
Click ‘Customise’ to select specific Cohorts you wish to be carried across into the Copy. Click a box next to a Cohort to select it for copying.

5. Choose the Destination Workspace. #
From the dropdown menu, select the Destination Workspace the Stack should be copied to.

6. Click ‘Copy Stack’. #
Click the ‘Copy Stack’ button to finalise copying the Stack.